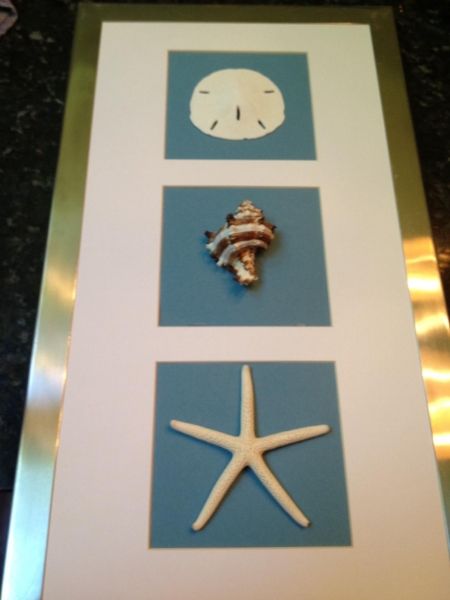
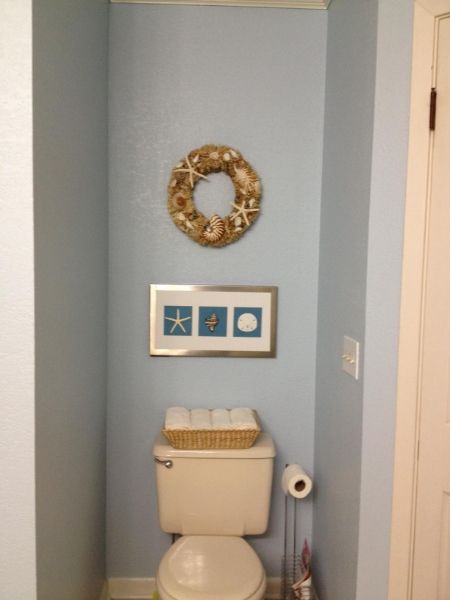
**UPDATE!!** My Seashell Shadowbox was featured on the 149th Hookin Up with HoH Party!
THANK YOU, Allison -- you rock my socks!
And now back to our regularly scheduled programming ...
Hey everyone! I made some artwork for our beach themed master bath a while back and wanted to share my how-to tips. "Beach themed? But Melody, you live in a land-locked state ..." I know, I know, but I love the ocean and earth tones combined with shades of blue, and the results (while a work in progress) make me happy when I am in there. This is a really versatile project and could be customized beyond my beach theme and placed in any room of the house to complement your own color scheme. Let's get going!
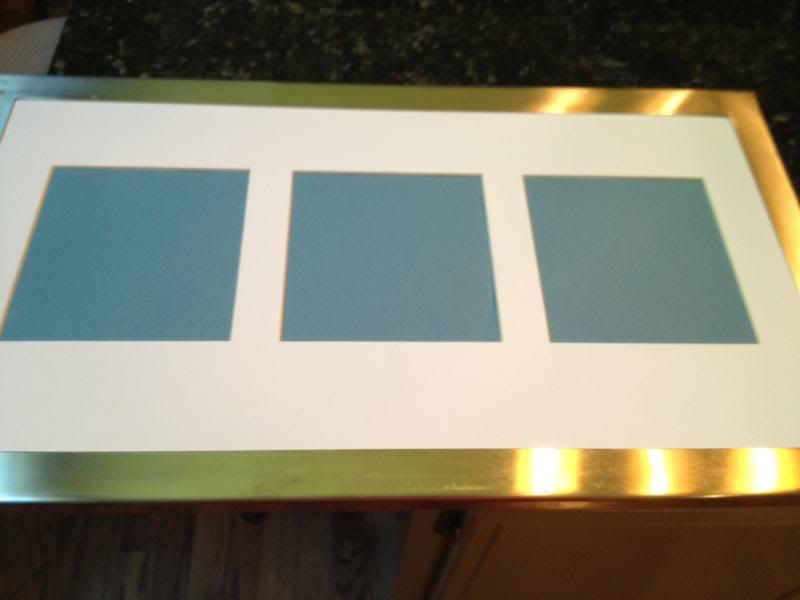
I started with this $3 frame bought from my neighbor's garage sale -- great deal, plus it's Pottery Barn! I cleaned it up well, removed the back, and took out the glass and set it aside. The mat, with its 3 openings, was what really drew me to this frame. For some reason, they made me think, "Melody! Would this not be SO COOL if you made it a shadowbox?!" I had seen framed seashells before, and had a nifty little collection of my own that DH and I bought on vacation in Hilton Head, SC, that I could raid for this project. I know it's not a true shadowbox, but I knew it could be really pretty and unique all the same.
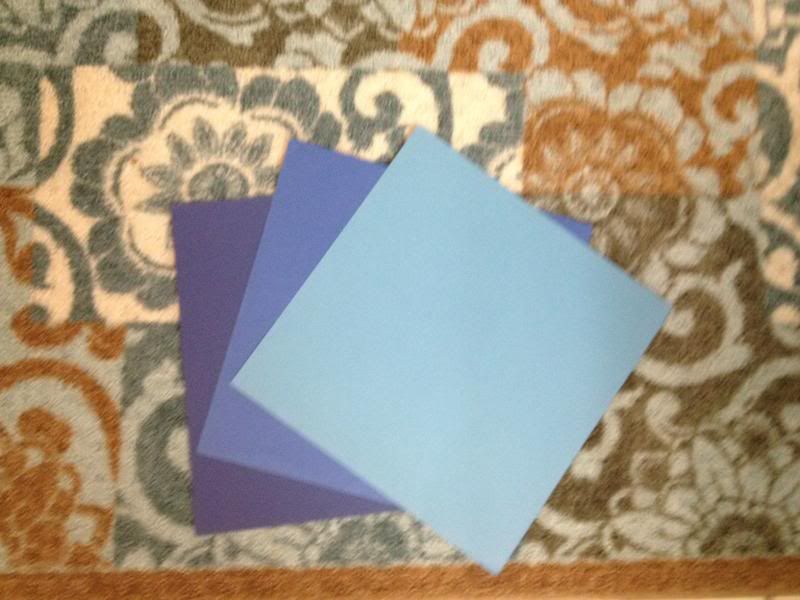
I knew I needed something as a backer to both accent my shells and pick up the color scheme in my valance and bathmats. Scrapbook paper is cheap, and I have plenty of it, so that was an easy decision. I know some people have trouble selecting colors, so let me show you how I did mine. I picked three shades of blue that I felt were strong contenders, based on the colors I already have in the room, and I just held them up 'til one stood out to me more than the others.
Like this:
I could see pretty quickly that the blue-green was my best option -- the far left color was too dark, and the center color didn't pick up the aqua tones -- so I folded the 12x12" sheet of paper in half, and cut it with scissors along the crease line. I just eyeballed the size I'd need for each opening, cut it roughly into thirds, and hot glued each one in place from the back.
From this point, I had to decide whether I wanted this frame to be oriented horizontally or vertically. I laid the shells on each paper section first while it lay horizontally ...
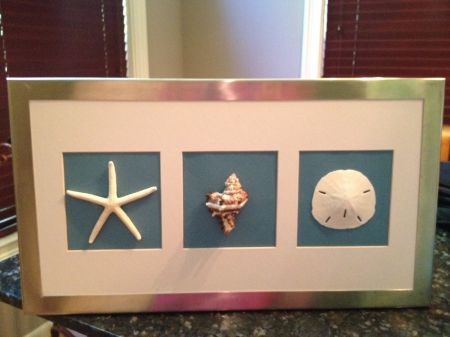
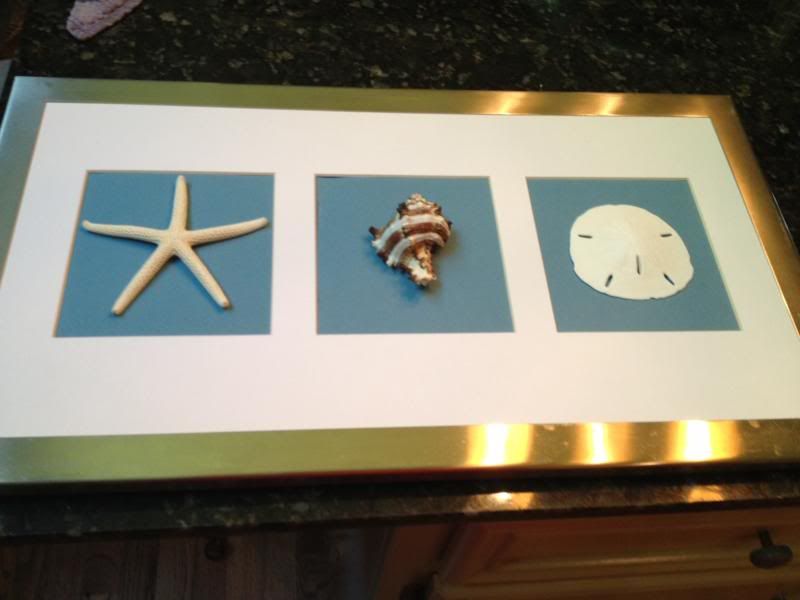
... and then rearranged them when I flipped it vertically. Either way would've been great, but the horizontal version looked the best to me. When I arranged my shells, I chose 3 that were about the same size, but different shapes. Since the pencil starfish and sand dollar were both completely white, I used them to "sandwich" the striped shell in the middle and sort of make a pattern - light, dark, light. That sort of arrangement tends to be interesting to the eye and keeps the design balanced. After I was satisfied with my arrangement, I applied a few globs of hot glue to the back of each shell and eyeballed the placement in about the middle of each square. And that's IT!
Doesn't it look awesome in my potty nook? I wish I could claim to have made the beautiful grass and shell wreath above the Seashell Shadowbox, but this was a souvenir purchased at The Shell Shop, also in Hilton Head, SC. I'd wanted to make one, and had a plan to hand-pick each shell I'd use and blah-blah-blah (you have to imagine the "blah-blah-blah" being said in my DH's voice), but the larger, prettier shells were $6-$8 each, not counting what I'd spend for the wreath base, filler, etc, and I saw quickly that just buying the wreath pre-made was a better bet! I think it cost about $28, and I love it.
What do you think of my seashell shadowbox? Could you see yourself making something like it?
This post linked to:
Inspire Me Tuesday @ A Stroll Thru Life
Works For Me Wednesdays @ We Are That Family
Penny Pinching Party @ The Thrifty Home
Catch a Glimpse Party @ A Glimpse Inside
Hookin Up with HoH @ House of Hepworths
Doggone Dirty Craftin Linky Party @ Rhinestone Beagle
Catch a Glimpse Party @ A Glimpse Inside
Thursday's Treasures @ Chocolate Chocolate and More!
Thursday's Treasures @ Recipes For My Boys
Catch a Glimpse Party @ A Glimpse Inside
Thursday's Treasures @ Chocolate Chocolate and More!
Thursday's Treasures @ Recipes For My Boys


