**This post was featured at The Tumbleweed Contessa!**
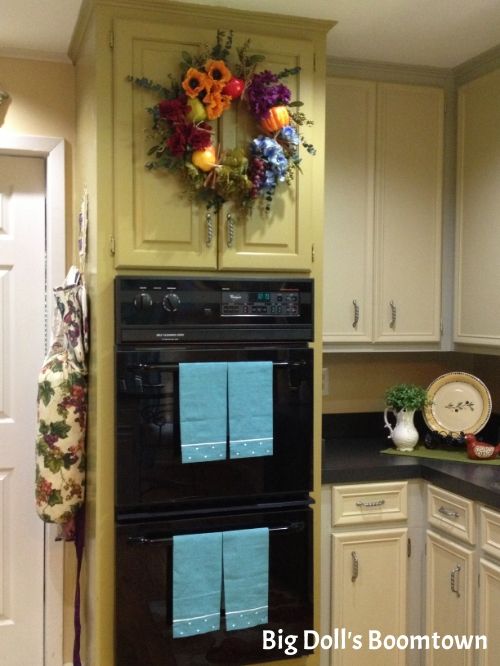
Finally, something to fill the blank space above my wall ovens!
Finally, something to fill the blank space above my wall ovens!
A wreath, a wreath, a glorious wreath :-D
This is not a proper, step by step tutorial,
but I hope you will get some ideas and inspiration all the same.
Let's go!
I stalked wreaths online for ages
and decided I wanted something that had a thrown-together,
French Provincial herb and fruit sort of look.
Makes sense for a kitchen, right?
However, everywhere I looked, these suckers were HIGH!
Ever want something so bad, but the price just turns you off?
Ever want something so bad, but the price just turns you off?
You know what that means - DIY time.
I bought a grapevine wreath form at Goodwill for $1.50.
At Dollar Tree, I bought 2 faux fruits (red apple, red/yellow pear),
and one bunch each of orange poppies, purple daisies, and deep red carnations.
There, I spent $6. Total: $7.50. Woo woot!
I already had the green faux pear, orange pumpkin, grapes,
eucalyptus, green berries, green flowers, cinnamon sticks, and raffia.
I was therefore able to decrease some of my craft hoard stash, too!
Don't you love the feeling you get when you realize
you already have the perfect thing?
Don't you love the feeling you get when you realize
you already have the perfect thing?
When I looked at the herb wreaths online,
I noticed that many of them had some type of spiky herb or twig
that flared out from the edges in a spiral.
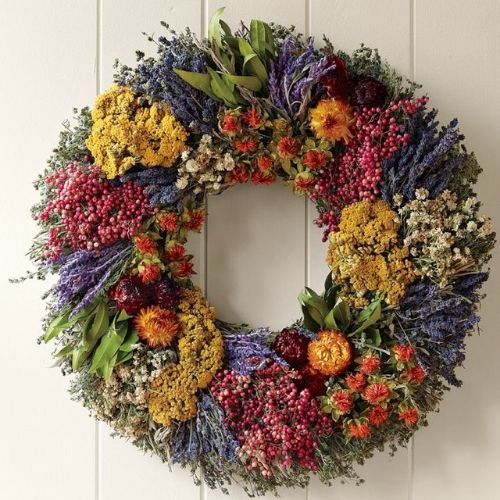
This was my favorite one, with its bunches of eye-catching flowers and colorful herbs,
but I wanted something with larger "bursts" of color and incorporating fruit.
Farmers' Market Herb Wreath @ Houzz.com
(Gorgeous, but $99.95 - ouch!)This was my favorite one, with its bunches of eye-catching flowers and colorful herbs,
but I wanted something with larger "bursts" of color and incorporating fruit.
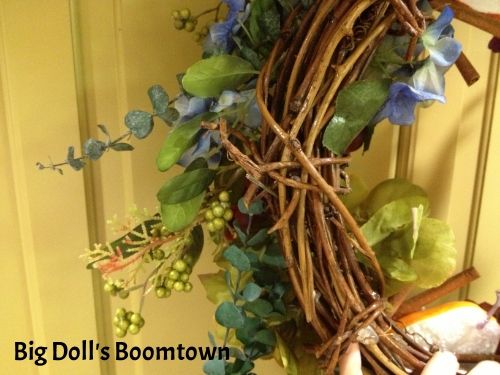
So this is how I started: I arranged pieces of eucalyptus and the green berries
alternating around the outside edge and angled each
so they formed the same spiral pattern.
Once I was happy with my arrangement, I hot glued each stem in place.
My next step involved the faux fruit.
My initial plan was to somehow hot glue each fruit to the wreath,
but when I held them up there, they stuck wayyy out
and I realized it would be hard to get the glue to hold the round surface to the wreath.
My solution was to cut the fruit in half longways!
(It's made of styrofoam.)
(It's made of styrofoam.)
Everything but the grapes got this special treatment.
I used a serrated knife for this process, slow and steady.
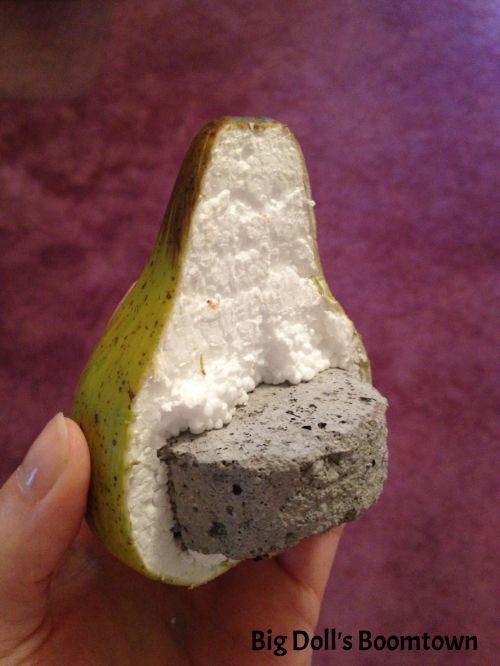
I ran into a problem with the green pear (which I'd had a few years),
because it actually had a ROCK inside it for balance and stability!
Can you believe it? It was purchased at Dollar Tree, too,
but I guess they eliminated this feature from their fruit at some point
because none of the newer fauxs had rocks inside them.
I just scored the pear along the line I needed it to divide at,
and cut around the rock as best as I could.
I was lucky that when I pried it apart, it broken evenly.
*whew*
As a bonus, I have fruit halves left over for a project another day.
Things look better in groups of odd numbers,
which was why I chose 5 fruits/veggies.
I arranged them on the grapevine wreath in sort of a star pattern,
and made sure none of the fruits with similar colors were next to each other.
Once I was satisfied, I hot glued those suckers into submission --
all but the grapes, which I attached with twist-ties at 2 spots (top and bottom)
directly to the wreath.
all but the grapes, which I attached with twist-ties at 2 spots (top and bottom)
directly to the wreath.
I didn't want flowers next to fruit that were the same/similar colors.
Without contrast, the wreath would be boring.
Without contrast, the wreath would be boring.
So the orange flowers couldn't go next to the pumpkin or red/yellow pear,
the green flowers couldn't go next to the green pear,
and the red and purple flowers couldn't go next to the grapes or apple.
I moved things around until I found the right combo,
cut my stems to the proper length (I used a wire cutter),
and hot glued them in securely.
At this point, my wreath was technically done, but I felt it was lacking something.
Do you ever feel this way when you craft?
Hmmmm ...
Do you ever feel this way when you craft?
Hmmmm ...
I had fruits, I had herbs, I had flowers, but what I didn't have were spices.
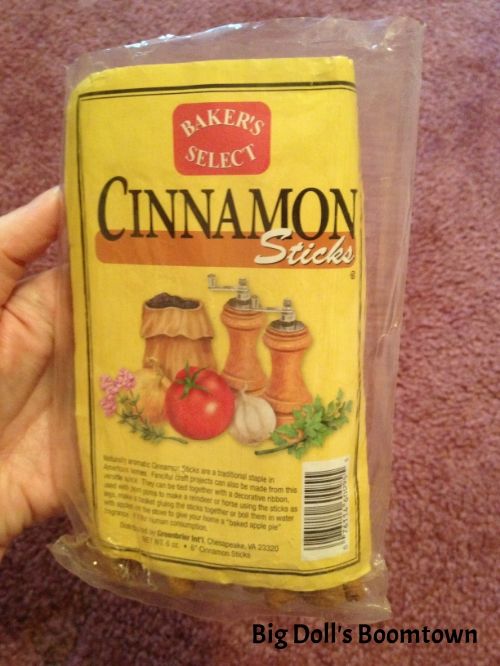
After a quick brainstorm, I realized I had a gazillion cinnamon sticks
that would be perfect!
I made 4 bundles of 2 sticks each by hot gluing them together in an "X"
and then tying a bit of raffia in a bow over the glued spot.
This was to add texture and also because I am addicted to bows ;-)
Then, I spaced them evenly throughout the wreath and glued them down.
Now it's finished.
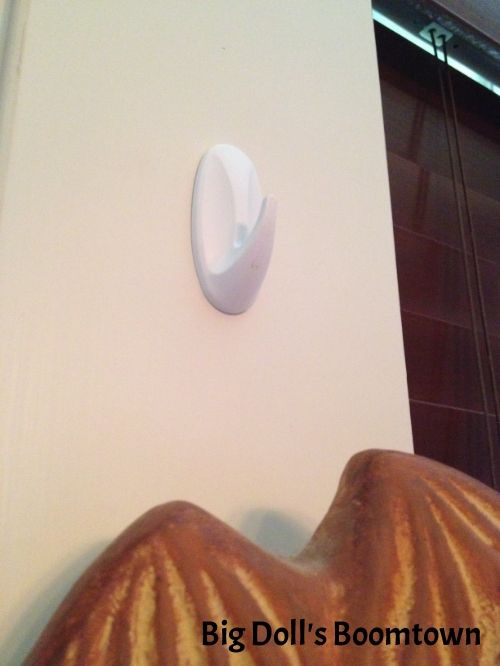
A 3-M Command Hook was the perfect solution for hanging this wreath
over the cabinetry that surrounds my wall ovens.
I just placed it at the inside edge of the right side door
(since DH and I are right handed and that door will have to be opened first from now on)
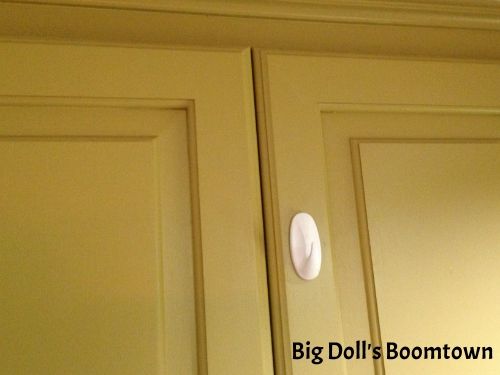
(since DH and I are right handed and that door will have to be opened first from now on)
and made sure it was high enough that the handles were easily accessed.

At first I worried that the wreath would get knocked down and be a pain in the tail,
but we adjusted quickly to it being there and it's not fallen once!
Not too shabby for $7.50, huh??
My kitchen is coming along slowly but surely -- thanks for being along for the ride.
I love to have you visit me, and I'd love even more if you'd FOLLOW ME!
Links for Facebook, Twitter, Bloglovin', RSS, Instagram, and Pinterest are at the top center :-)
I'm linked up to these amazing parties -- go check out the wonderful ideas shared!
Met Monday @ Between Naps on the Porch
Met Monday @ Between Naps on the Porch
Mod Mix Monday @ Mod Vintage Life
Inspiration Monday @ twelveOeight
Masterpiece Monday @ Boogie Board Cottage
Creative Bloggers' Party @ Homemaker on a Dime
What'd You Do This Weekend @ Recipes and Ramblings
Inspire Me Tuesday @ A Stroll Thru Life
Inspiration Monday @ twelveOeight
Masterpiece Monday @ Boogie Board Cottage
Creative Bloggers' Party @ Homemaker on a Dime
What'd You Do This Weekend @ Recipes and Ramblings
Inspire Me Tuesday @ A Stroll Thru Life
The Scoop @ Cedar Hill Ranch
Get Your Craft On Tuesdays @ Today's Creative Blog
Terrific Tuesdays @ Adventures of a DIY Mom
Get Your Craft On Tuesdays @ Today's Creative Blog
Terrific Tuesdays @ Adventures of a DIY Mom
Get Your Craft On Tuesdays @ Today's Creative Blog
TOO cute Tuesdays @ Funky Polka Dot Giraffe
One Project At A Time @ A Bowl Full Of Lemons
TOO cute Tuesdays @ Funky Polka Dot Giraffe
One Project At A Time @ A Bowl Full Of Lemons
Cast Party Wednesday @ Lady Behind The Curtain
Wonderful Wednesday Blog Hop @ Ducks 'n a Row
Works For Me Wednesdays @ We Are That Family
What's It Wednesdays @ Ivy and Elephants
Penny Pinching Party @ The Thrifty Home
Whatever Goes Wednesdays @ Someday Crafts
We Did It Wednesday @ Sew Much Ado
Show and Share @ Southern Lovely
Catch a Glimpse Party @ A Glimpse Inside
All Things Thursday Link-Up @ All Things With Purpose
Thrifty to Nifty @ A Jennuine Life
Time Travel Thursday @ The Brambleberry Cottage
Open House Party @ No Minimalist Here
Thursday's Treasures @ Recipes For My Boys
Hookin Up with HoH @ House of Hepworths
Thursday's Treasures @ Chocolate Chocolate and More!


